Set up a SvelteKit website in GitHub Pages

In this article, I’ll show you how to use GitHub Pages to host your SvelteKit website.
First of all, there are some things to consider when using GitHub Pages:
- It can only host static websites
- It’s only available for public repositories
If none of these are a deal breaker, you’re good to go. There are some other limitations but those are mostly related to the website’s content and usage, and in this guide, we’ll just create a blank page.
1. Create a public GitHub repository
In your GitHub account, click on the + sign at the top right corner, and select New repository. In the creation screen, be sure to make the repository public. Name it whatever you like. In the following examples, the repository will be called sk-gh-pages.
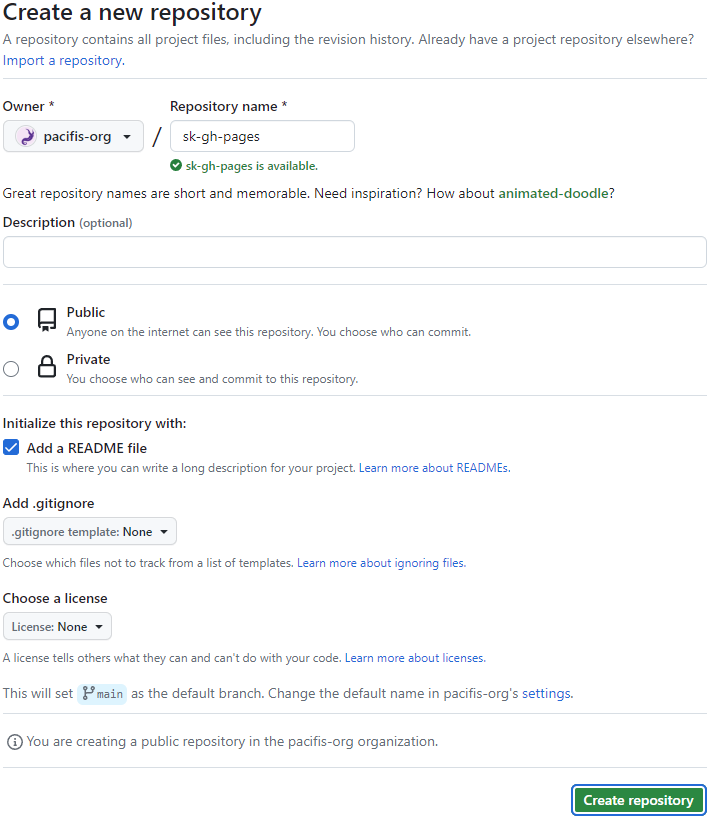
I added a README just so that the repository isn’t empty. You don’t need to do that. The important thing is that the repository is public.
2. Creating a SvelteKit project
Copy the link to clone the repository from GitHub by clicking on the green button (<> Code).
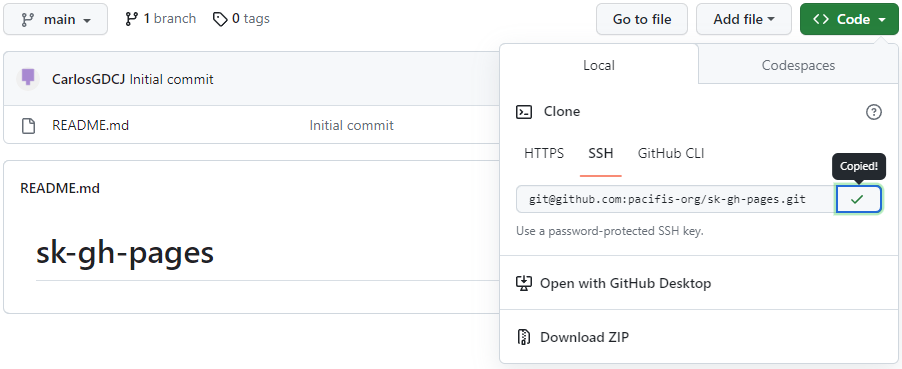
Clone the repository.
1
git clone <link you copied>
Inside the repository folder, create a SvelteKit project. I’ll use pnpm, but feel free to use npm instead.
1
2
cd sk-gh-pages
pnpm create svelte
Specify the project to be created on the current directory, even if it isn’t empty, and choose the Skeleton project as the template. The other options, like TypeScript support, linting, formatting, and testing are up to your preference.
To check if everything is working, run:
1
2
pnpm i
pnpm run dev --open
A browser window should pop up with the “Welcome to SvelteKit” screen.
3. Making our SvelteKit website static
Inside the routes folder, create a +layout.js file with the following content:
1
export const prerender = true;
Next, install the static adapter. This will allow SvelteKit to generate static websites:
1
pnpm i -D @sveltejs/adapter-static
In order for it to work, change the first line of the svelte.config.js file to use the newly installed static adapter:
1
import adapter from '@sveltejs/adapter-static';
If your repository name is not your-username.github.io, as is the case in this example, you’ll have to change another line in svelte.config.js to indicate that the deployed site will be served from your-username.github.io/repository-name. Create a config.kit.paths.base like the following:
1
2
3
4
5
6
7
8
const config = {
	kit: {
		adapter: adapter(),
		paths: {
			base: process.argv.includes('dev') ? '' : process.env.BASE_PATH
		}
	}
};
Now commit all your changes and push them to the GitHub repository.
1
2
3
git add -A
git commit -m "Static website config"
git push
4. Setting up GitHub Pages
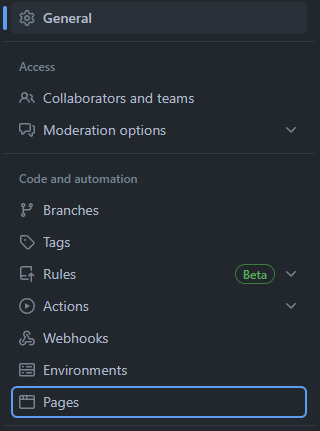
In the Settings tab of your repository, click on the Pages option on the left side.


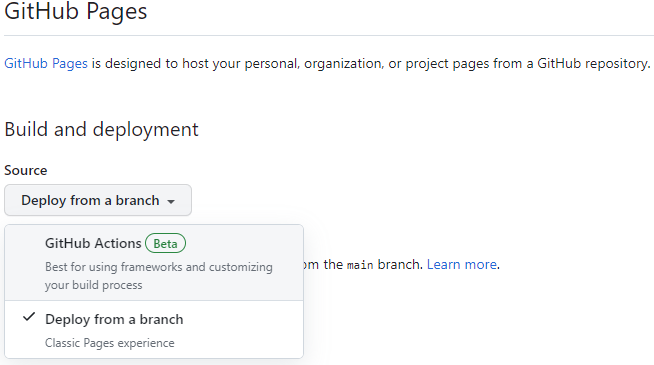
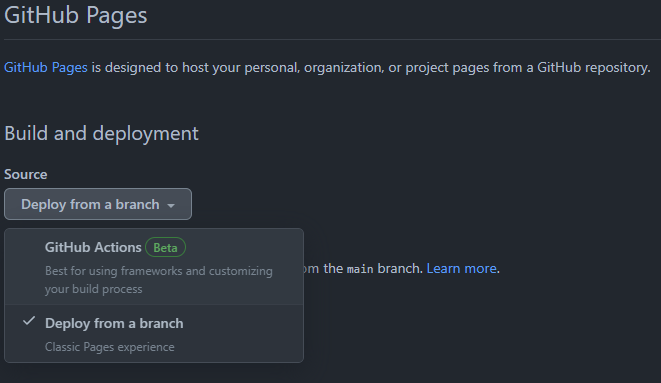
Find the Source drop-down menu, and select GitHub Actions. We’ll create a workflow that will build and deploy the website to GitHub Pages.
Now go to the Actions tab, and click on set up a workflow yourself


An editor will open. Paste the following configuration:
1
2
3
4
5
6
7
8
9
10
11
12
13
14
15
16
17
18
19
20
21
22
23
24
25
26
27
28
29
30
31
32
33
34
35
36
37
38
39
40
41
42
43
44
45
46
47
48
49
50
51
52
53
54
55
56
57
58
59
60
61
62
63
64
65
66
67
68
69
# Workflow to build and deploy a SvelteKit website to GitHub Pages
name: Deploy static SvelteKit content to Pages

on:
  # Runs on pushes targeting the default branch
  push:
    branches: ["main"]

  # Allows you to run this workflow manually from the Actions tab
  workflow_dispatch:

# Sets permissions of the GITHUB_TOKEN to allow deployment to GitHub Pages
permissions:
  contents: read
  pages: write
  id-token: write

# Allow only one concurrent deployment, skipping runs queued between the run in-progress and latest queued.
# However, do NOT cancel in-progress runs as we want to allow these production deployments to complete.
concurrency:
  group: "pages"
  cancel-in-progress: false

jobs:
  build-site:
    runs-on: ubuntu-latest
    steps:
      - name: Checkout
        uses: actions/checkout@v3

      - name: Install pnpm
        uses: pnpm/action-setup@v2
        with:
          version: 8

      - name: Install Node.js
        uses: actions/setup-node@v3
        with:
          node-version: 18
          cache: pnpm

      - name: Install dependencies
        run: pnpm i

      - name: Setup Pages
        uses: actions/configure-pages@v3
        with:
          static_site_generator: "sveltekit"

      - name: Build site
        run: pnpm run build

      - name: Upload artifact
        uses: actions/upload-pages-artifact@v1
        with:
          path: 'build/'

  deploy:
    needs: build-site
    runs-on: ubuntu-latest

    environment:
      name: github-pages
      url: ${{ steps.deployment.outputs.page_url }}

    steps:
      - name: Deploy to GitHub Pages
        id: deployment
        uses: actions/deploy-pages@v2
This configuration file sets up two jobs: build-site and deploy and schedule them to run every time a push happens on the main branch. On the build-site job, if you are not using pnpm, you can delete the step called “Install pnpm” and then replace all occurrences of pnpm with npm. You can also change the versions to match what you expect to work with.
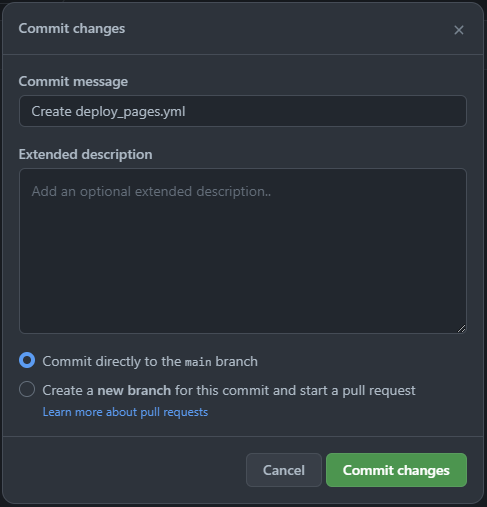
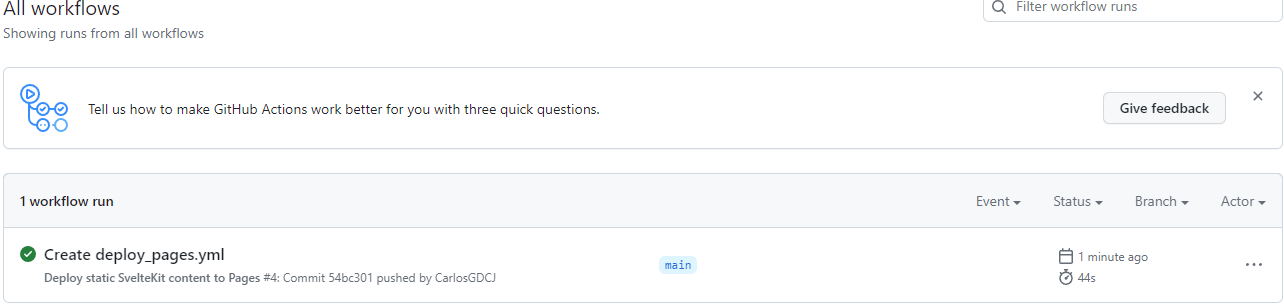
After pasting the configuration, click Commit changes in the top right corner. The name of the file doesn’t really matter, but I went with deploy_pages.yml. A new pop-up will appear. Check the option Commit directly to the main branch and again, click on Commit changes.


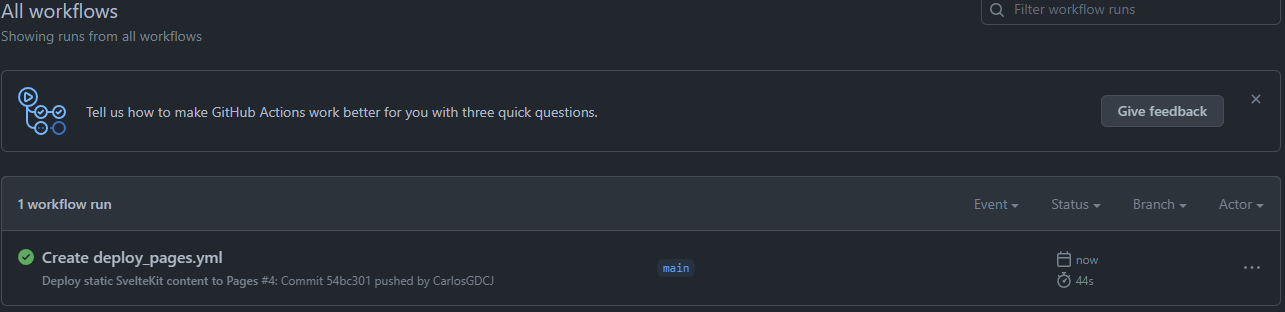
This new commit will trigger the workflow to run. You can see the progress in the Actions tab. It shouldn’t take too long to complete.
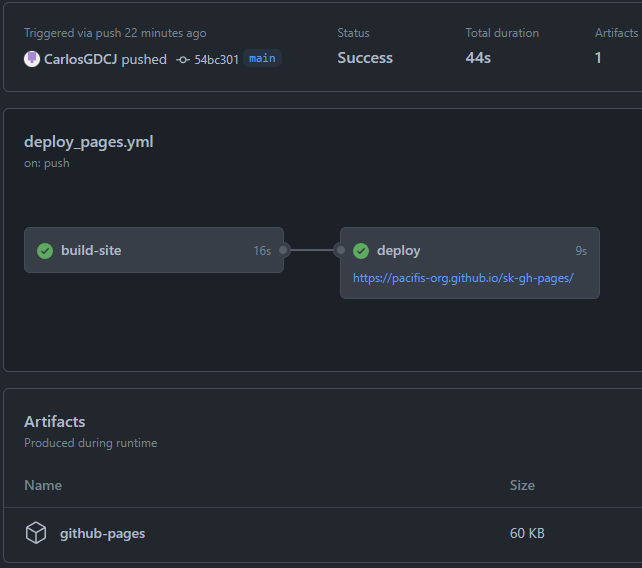
You can click on the workflow to see more details. If it was successful, the GitHub pages link should appear below the deploy job.
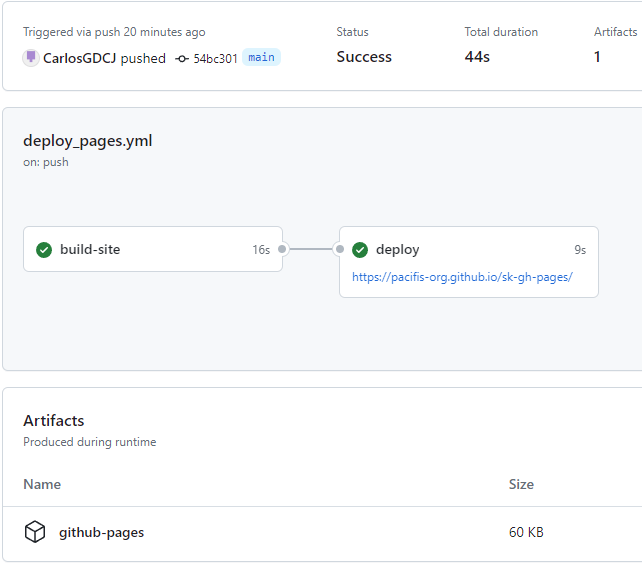
If the workflow wasn’t successful you can click on the jobs to see logs and details on what went wrong.
All that’s left is syncing the GitHub repository with our local one. Run:
1
git pull
And that’s it. Now every time you make a push to the main branch, the workflow will run, building a new version of the website. If you want to change this behavior, alter the .yml file in .github/workflows to your liking. Here you can learn more about the syntax and GitHub Actions in general.